Walk across a Roman floor in Antioch, Carthage or Byblos and you are standing on millions of small stones, each cut by hand and set one at a time. Two thousand years later, that is still how we work in our Beirut workshop. The tools have improved and the adhesives are better, but the method the Romans called opus tessellatum has barely changed. Here is how a Roman-style mosaic is made, step by step.
What a tessera is
A tessera (plural tesserae) is a single small piece of stone, glass or ceramic. The Romans cut theirs from local marble and limestone, and later from coloured glass. Size controls detail: floor mosaics typically used tesserae of about one centimetre, while the finest panels, called opus vermiculatum, used pieces only a few millimetres across so that faces and shading could be rendered almost like a painting.
We still use natural marble for most Roman-style work, because no manufactured material reproduces its soft, matte colour range. Glass is reserved for accents, such as blues and greens in water or the gold of a halo.
Step 1: The cartoon
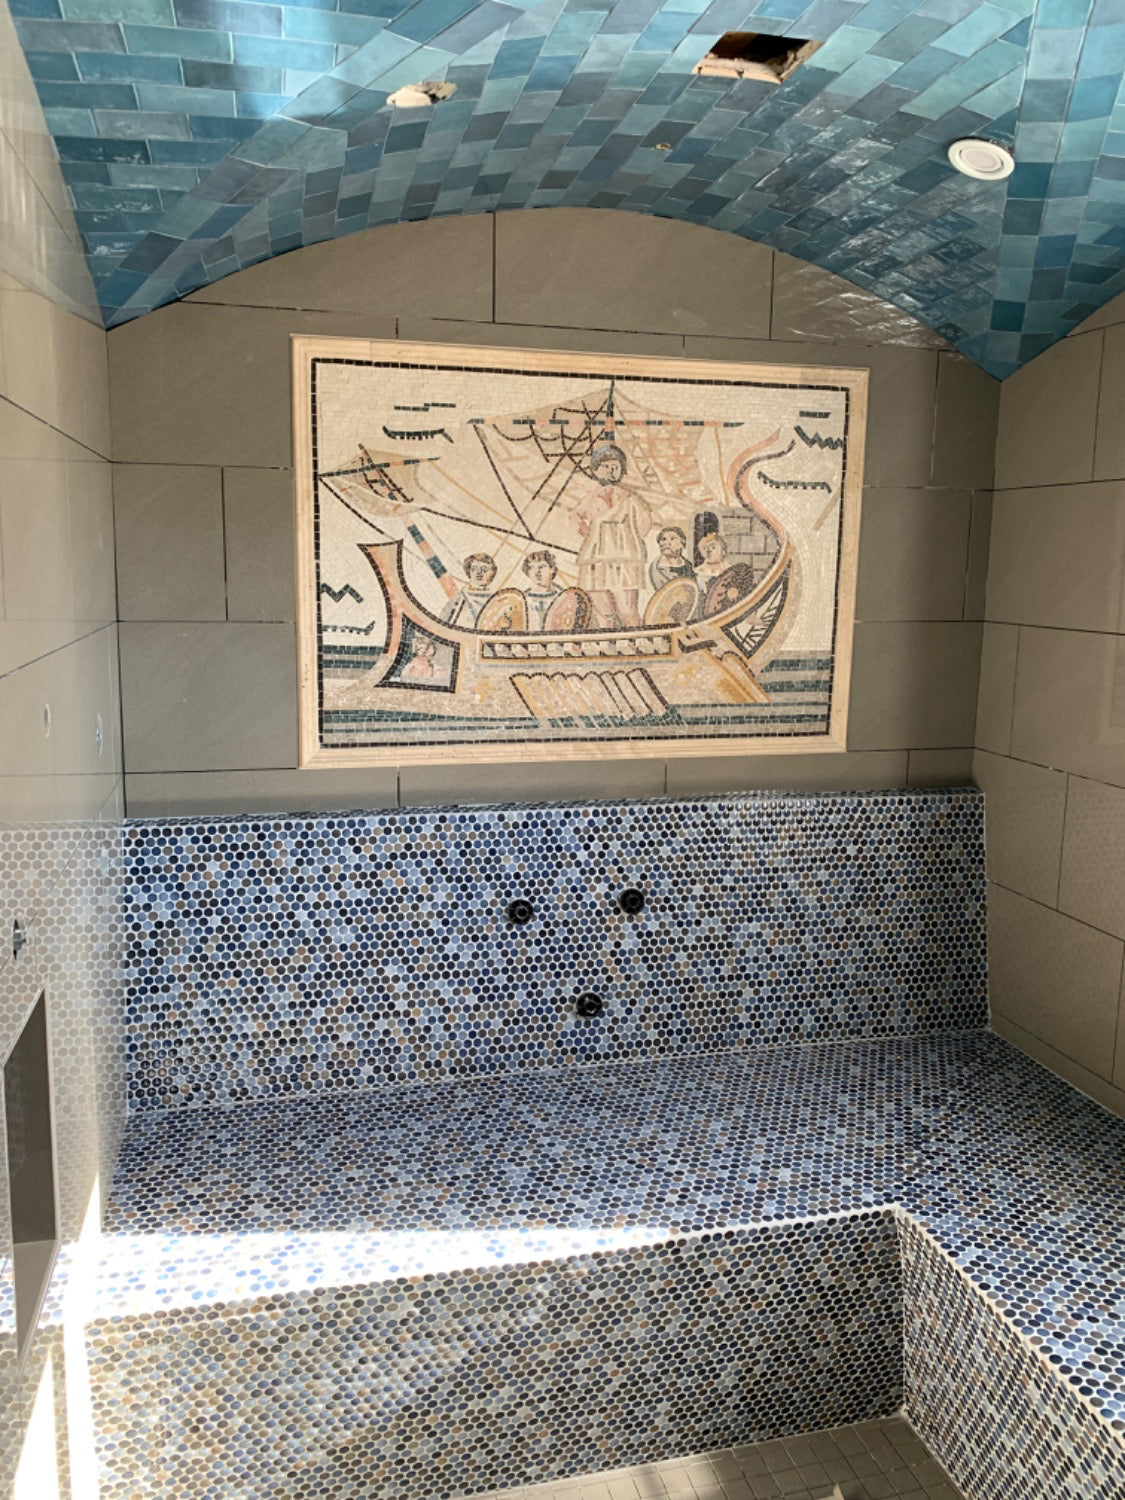
Every piece starts as a full-size drawing, known as the cartoon. Roman workshops are thought to have shared pattern books, which is why the same dolphins, guilloche borders and sea creatures appear across the Mediterranean. Ships, fish and harbour scenes were especially popular in coastal cities; our Mozaico colleagues have written a detailed piece on Roman maritime mosaics and the stories behind them.
In the workshop, the cartoon fixes the outlines and the main colour zones before a single stone is cut. Changes are cheap on paper and expensive in marble.
Step 2: Cutting the stone
The Romans split their stone by hand with a hammer and hardie, a chisel-shaped blade fixed upright in a block: the artisan rests a rod of marble on the hardie, strikes it with the hammer, and the stone breaks cleanly along the line. We still use the hammer and hardie when a piece calls for the traditional technique. For most work today, our artisans shape the tesserae with mosaic nippers, which give finer control over each cut, especially for the small, curved pieces that follow an outline. Each colour is cut into a tray of its own, and a large floor can need dozens of trays.
Step 3: Andamento, the flow of the lines
What separates a good mosaic from a mechanical one is andamento: the direction in which the rows of tesserae run. Roman artisans laid the first row tight around the outline of a figure, then echoed that outline row by row, so the background seems to ripple outward. Look closely at an ancient fish and you will see a halo of rows following its body. That halo is andamento, and it is what makes the image read clearly from across a room.
Step 4: Setting
The Romans set tesserae directly into wet lime mortar, working in small patches so that the bed never dried out. For work that has to travel, we usually work indirectly: the design is assembled, then, depending on its size, transferred in sections onto a backing so that it can be shipped and installed far from where it was made. The finished surface looks the same; the difference is that a mosaic made in Beirut can be set into a wall in Chicago or Sydney.
Step 5: Grouting and finishing
Once set, the joints between tesserae are grouted, cleaned and, for marble, sealed. Roman floors were often ground smooth after setting so they could be walked on comfortably. For wall pieces we leave a slightly uneven surface, because the small changes in angle catch the light differently through the day.
Why the method has lasted
Stone does not fade. Roman mosaics have survived earthquakes, burial and centuries of neglect with their colours intact, and they have survived precisely because they are made from material that is already thousands of years old. A mosaic made this way today is built to outlast whoever commissions it.
If you would like to see what the method produces, you can explore the ancient mosaic collection, made in our Beirut workshop.